Installation
Preface
Virtual Developer Cloud-Connector (VDCC) is an Eclipse-plugin. You can get it for free from the Eclipse marketplace. In the following you find the installation steps for the plugin. Exemplarily, Eclipse 4.3.1 is going to be used as the basis for the installation. Any Eclipse packaged solution that is base on Eclipse 4.3 can be used to install and use the VDCC.
Installation Steps
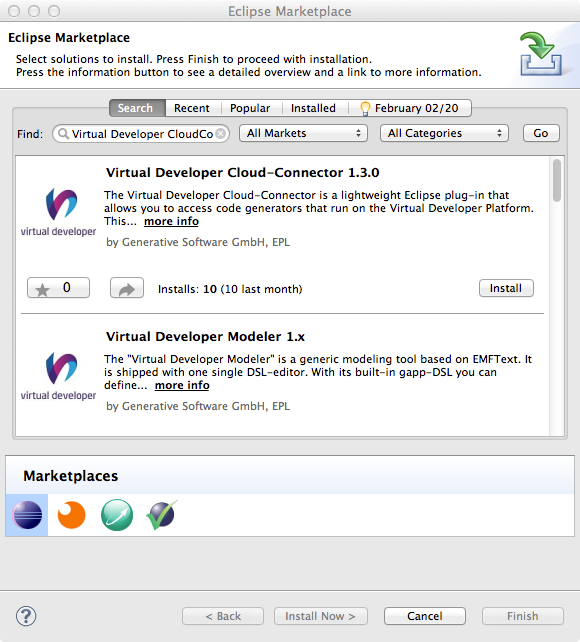
- By clicking on the Eclipse help-menu you get to the Eclipse marketplace dialog.
-
In the marketplace, you search for “Virtual Developer” click on the Install button in the resulting list of plugins.
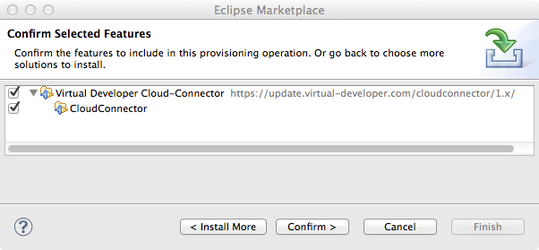
-
In the subsequent dialog, the Cloud-Connector is selected. Confirm your selection using the Confirm button.
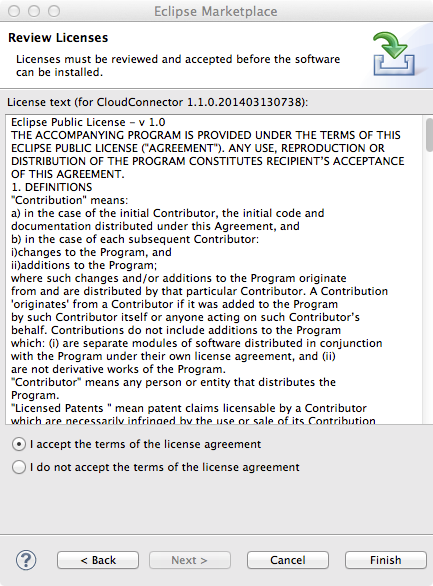
-
In the subsqeuent install wizard, accept the Eclipse Public License, which is the license that is used for the VDCC.
-
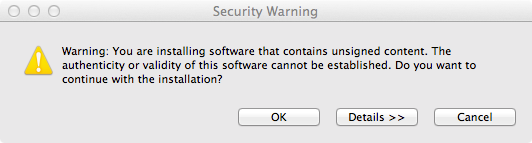
Click OK in the following dialog box, that indicates unsigned content.
-
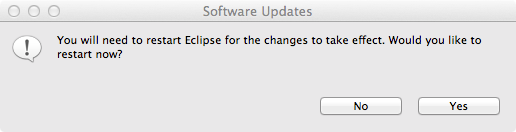
Finally, restart Eclipse in order to be able to use the VDCC.
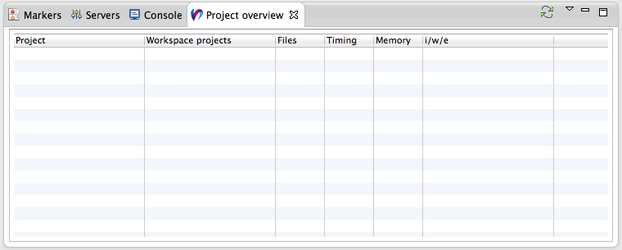
Verify the Installation
-
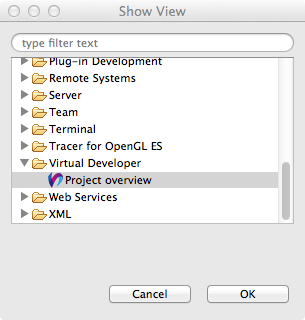
In order to check, whether the installation was successful, you have to open the view by using the menu Window -> Show View -> Other… .
-
Open the Virtual Developer folder and select the Project overview. Now you should see the view Project overview open.