Installation
This How-To is for all Virtual Developer generator producers planing to develop Virtual Developer Generators with the Virtual Developer IDE.
Within this article you’ll find a step by step guide how to install the Virtual Developer IDE.
Requirements
You need a valid Virtual Developer license to get a username and password for our repositories. If you’re interested please contact us.
Step-by-step guide
-
Download Eclipse Installer if not present on your system already.
-
On MacOS X
- Download the archive file from https://wiki.eclipse.org/Eclipse_Installer
- Extract the archive to the /Applications/ folder on your local storage
- Open the /Applications/Eclipse Installer.app/Contents/Eclipse/eclipse-ins.ini file in an editor of your choice and add the following lines to the end of the file
-Doomph.redirection.gsProjectsSetup=index:/redirectable.projects.setup->https://developer.virtual-developer.com/eclipse-setup/com.gs.projects.setup -Doomph.redirection.gsProjectsFolder=index:/gs-projects/->https://developer.virtual-developer.com/eclipse-setup/gs-projects/ -Doomph.redirection.gsProductsSetup=index:/redirectable.products.setup->https://developer.virtual-developer.com/eclipse-setup/com.gs.products.setup -Doomph.redirection.gsProductsFolder=index:/gs-products/->https://developer.virtual-developer.com/eclipse-setup/gs-products/ - Start the Eclipse Installer
-
On Microsoft Windows
- Download the executable from https://developer.virtual-developer.com/eclipse-installer/
- Start the downloaded executable
- Open the menu on the top right
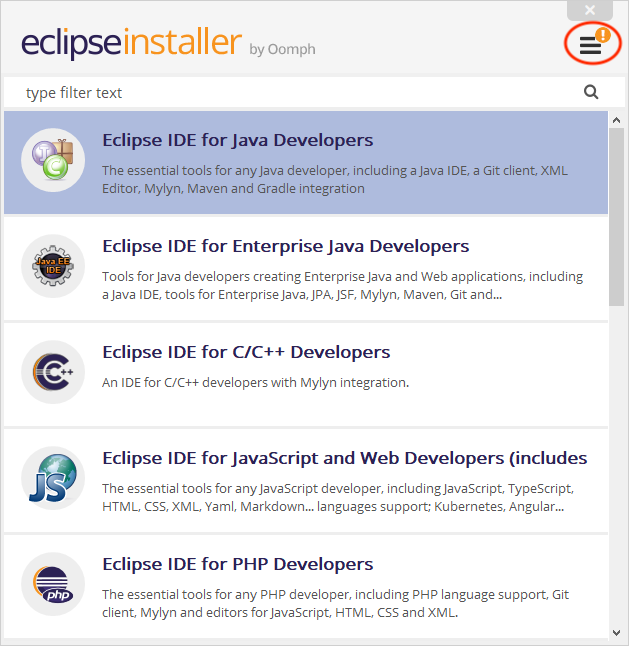
- In case you see an UPDATE menu item, please update the Eclipse Installer first.
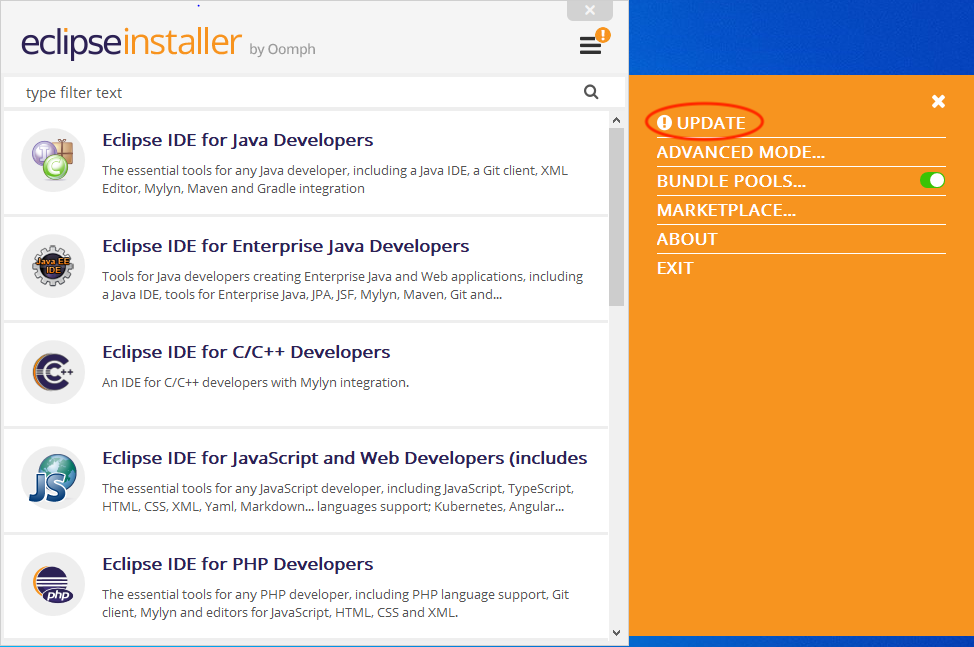
- Restart the Eclipse Installer
-
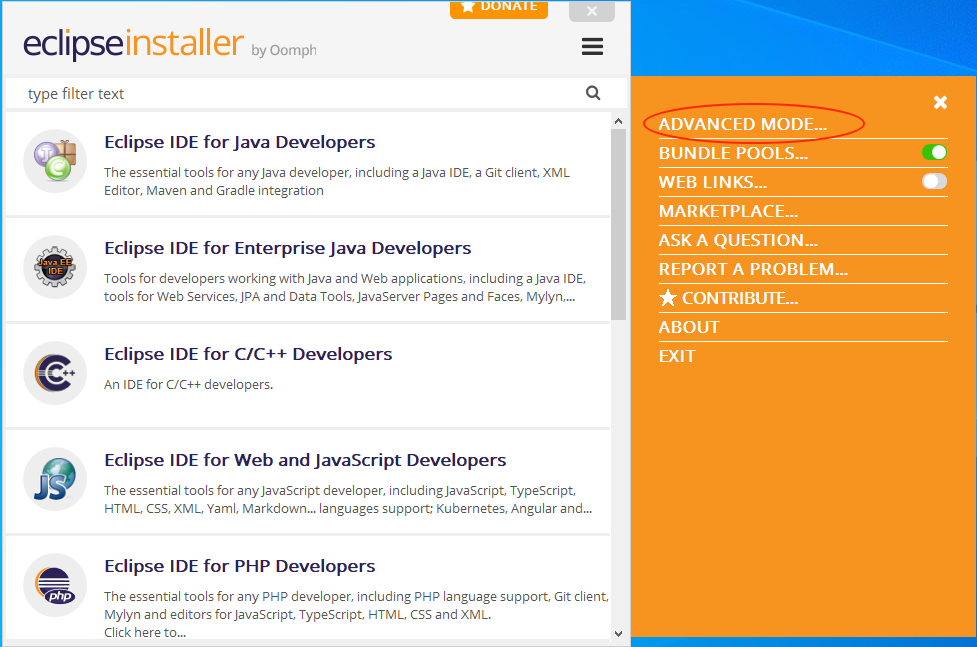
-
Open the menu on the top right and switch to ADVANCED MODE
-
Open the Products Catalog… menu
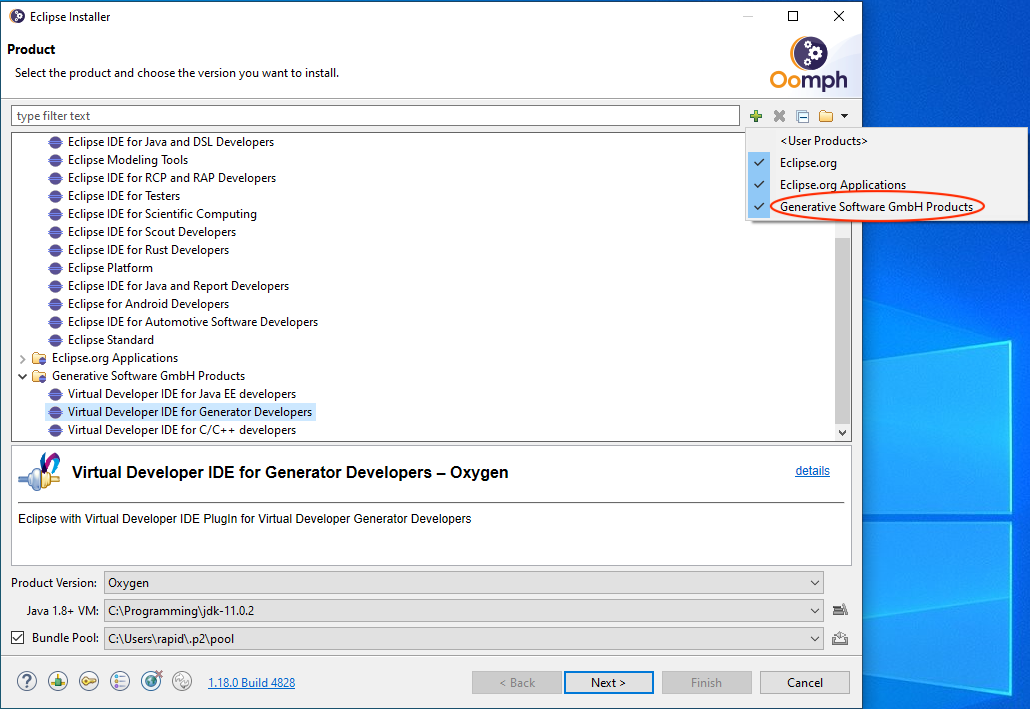
Please select the Generative Software GmbH Products in case it is not selected
-
Search for the Virtual Developer IDE for Generator Developers installable
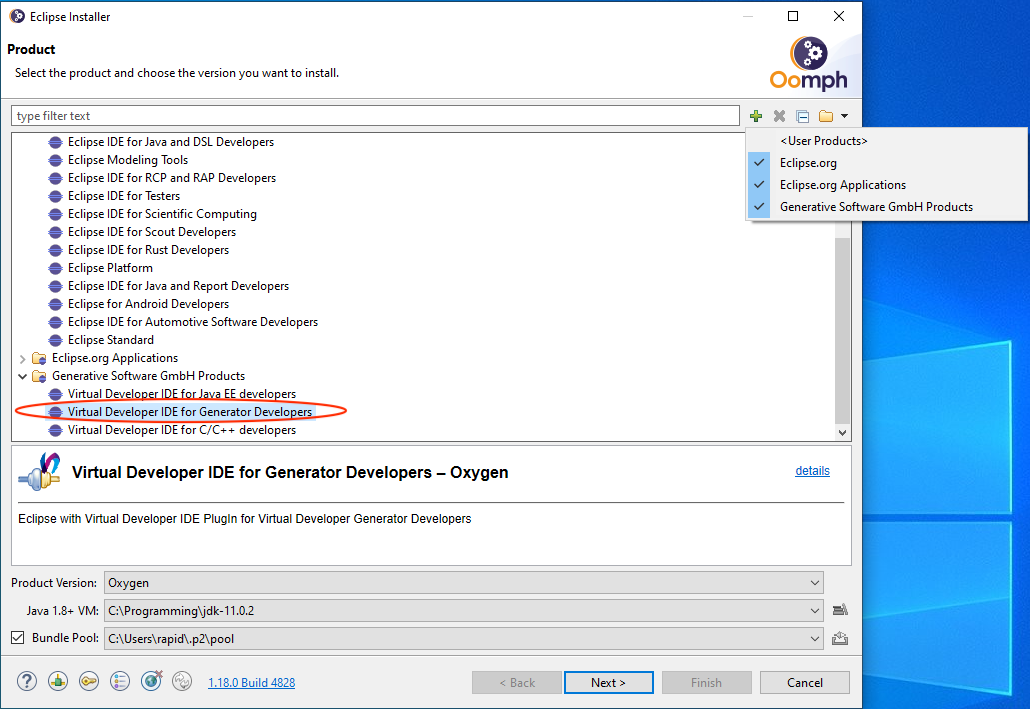
Please select the Virtual Developer IDE for Generator Developers item
-
Setup the installation properties

Please choose the correct Java version and the installation path of the Virtual Developer IDE Start the installation with the INSTALL button
Credentials
During the installation process you will be asked for your credentials provided with the Virtual Developer license
Eclipse license
Also the eclipse licenses needs to be Accept and the unsigned bundles needs to be confirmed to finish the installation process
-
Launch the new eclipse instance
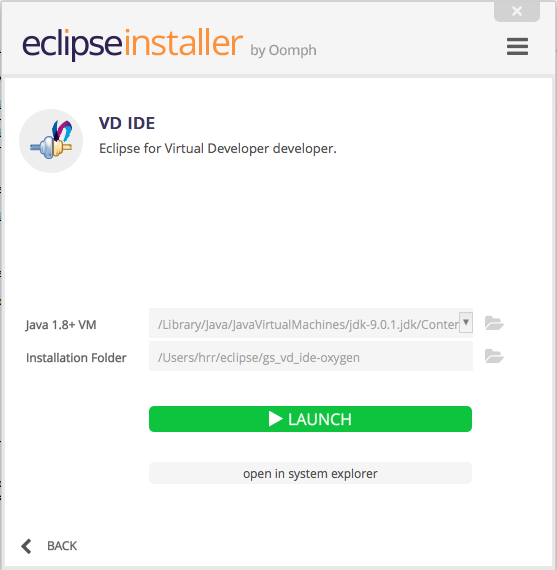
Please launch your new Virtual Developer IDE with the green LAUNCH button
-
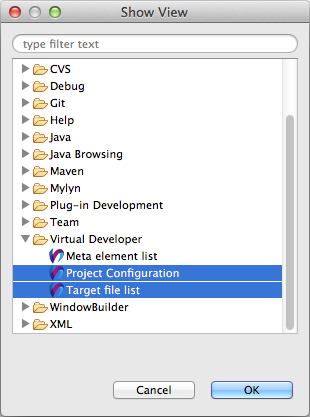
Open menu Windows -> Show View and open the Project Configuration and Target file list view to start working.