Installation
Preface
Virtual Developer Modeler (VDM) is an Eclipse-plugin. You can get it for free from the Eclipse marketplace. In the following you find the installation steps for the plugin. Exemplarily, Eclipse 4.3.1 is going to be used as the basis for the installation. Any Eclipse packaged solution that is base on Eclipse 4.3 can be used to install and use the VDM.
Installation Steps
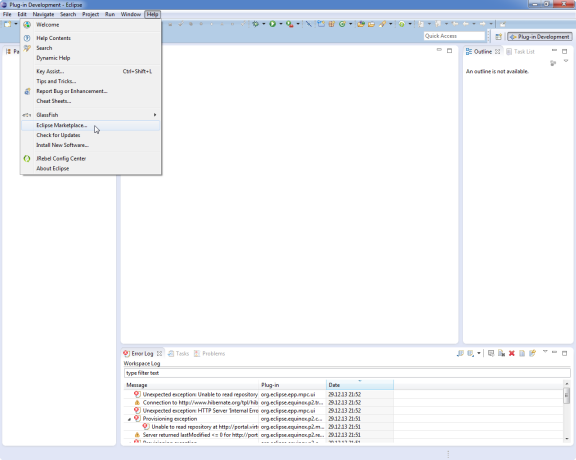
By clicking on the Eclipse help-menu you get to the Eclipse marketplace dialog.
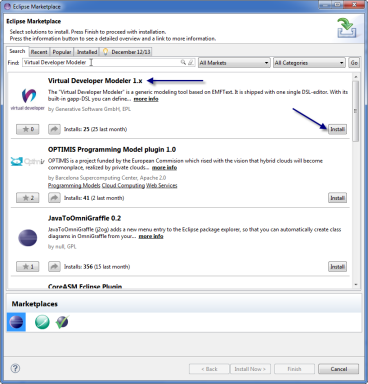
In the marketplace, you search for “Virtual Developer Modeler” click on the Install” button in the resulting list of plugins.
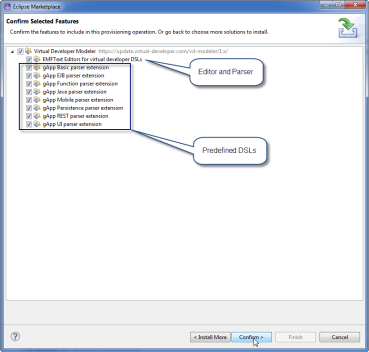
In the subsequent dialog, everything is selected. If you do not want standard DSLs being installed with VDM, you can deselct them. Only the editor and the parser component are required for the tool to work. However, it is recommended to also install the standard DSLs to be able to try them out. Even if you intend to develop your own DSLs, the standard DSLs won’t trouble you.
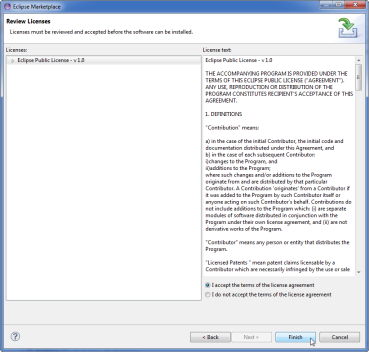
In the subsqeuent install wizard, accept the Eclipse Public License, which is the license that is used for the VDM.
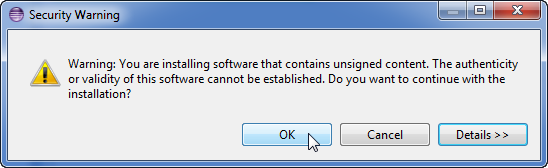
Click OK in the following dialog box, that indicates unsigned content.
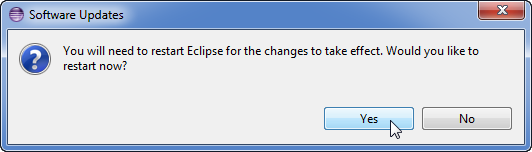
Finally, restart Eclipse in order to be able to use the VDM.
Verify the Installation
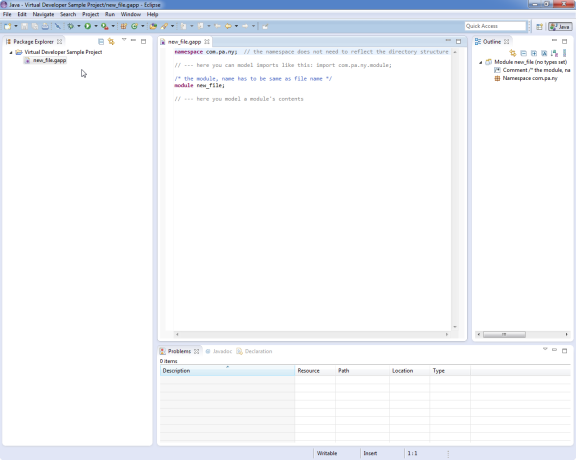
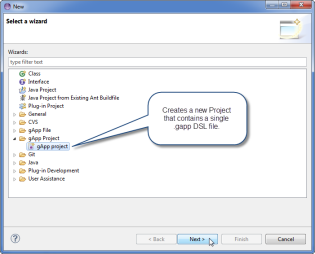
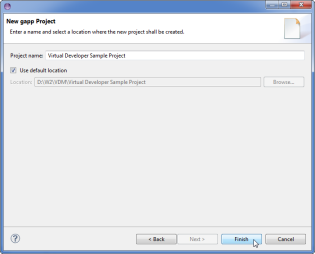
In order to check, whether the installation was successful, you can use the “New Project” wizard to create a sample project.
In the new project you find a rudimental model file. You can use this file and any other file that has the ending “.gapp” to create and edit models. In the users guide your learn how this can be done.